Sunday 24 February 2013

Recipe 20: Cholla Loaf

The dread when I turned the page over in the book to see a plaited loaf, my heart sank! My thoughts went back to the Great British Bake Off and the drama of the 8 straits plaited loaf, I know this is only 3 but I can't even plait my hair let alone a dough! There are instructions on how to plait it but I'll get to that bit in a moment!


Oh, by the way, this bread is a traditional Jewish bread! I think it's eaten for special occasions.


A bit of different ingredients to the usual loaf of bread, the main one being eggs! Yes, the loaf had 2 eggs as well as flour, yeast, water, warm milk, unsalted butter and caster sugar so made a bit of a change!!
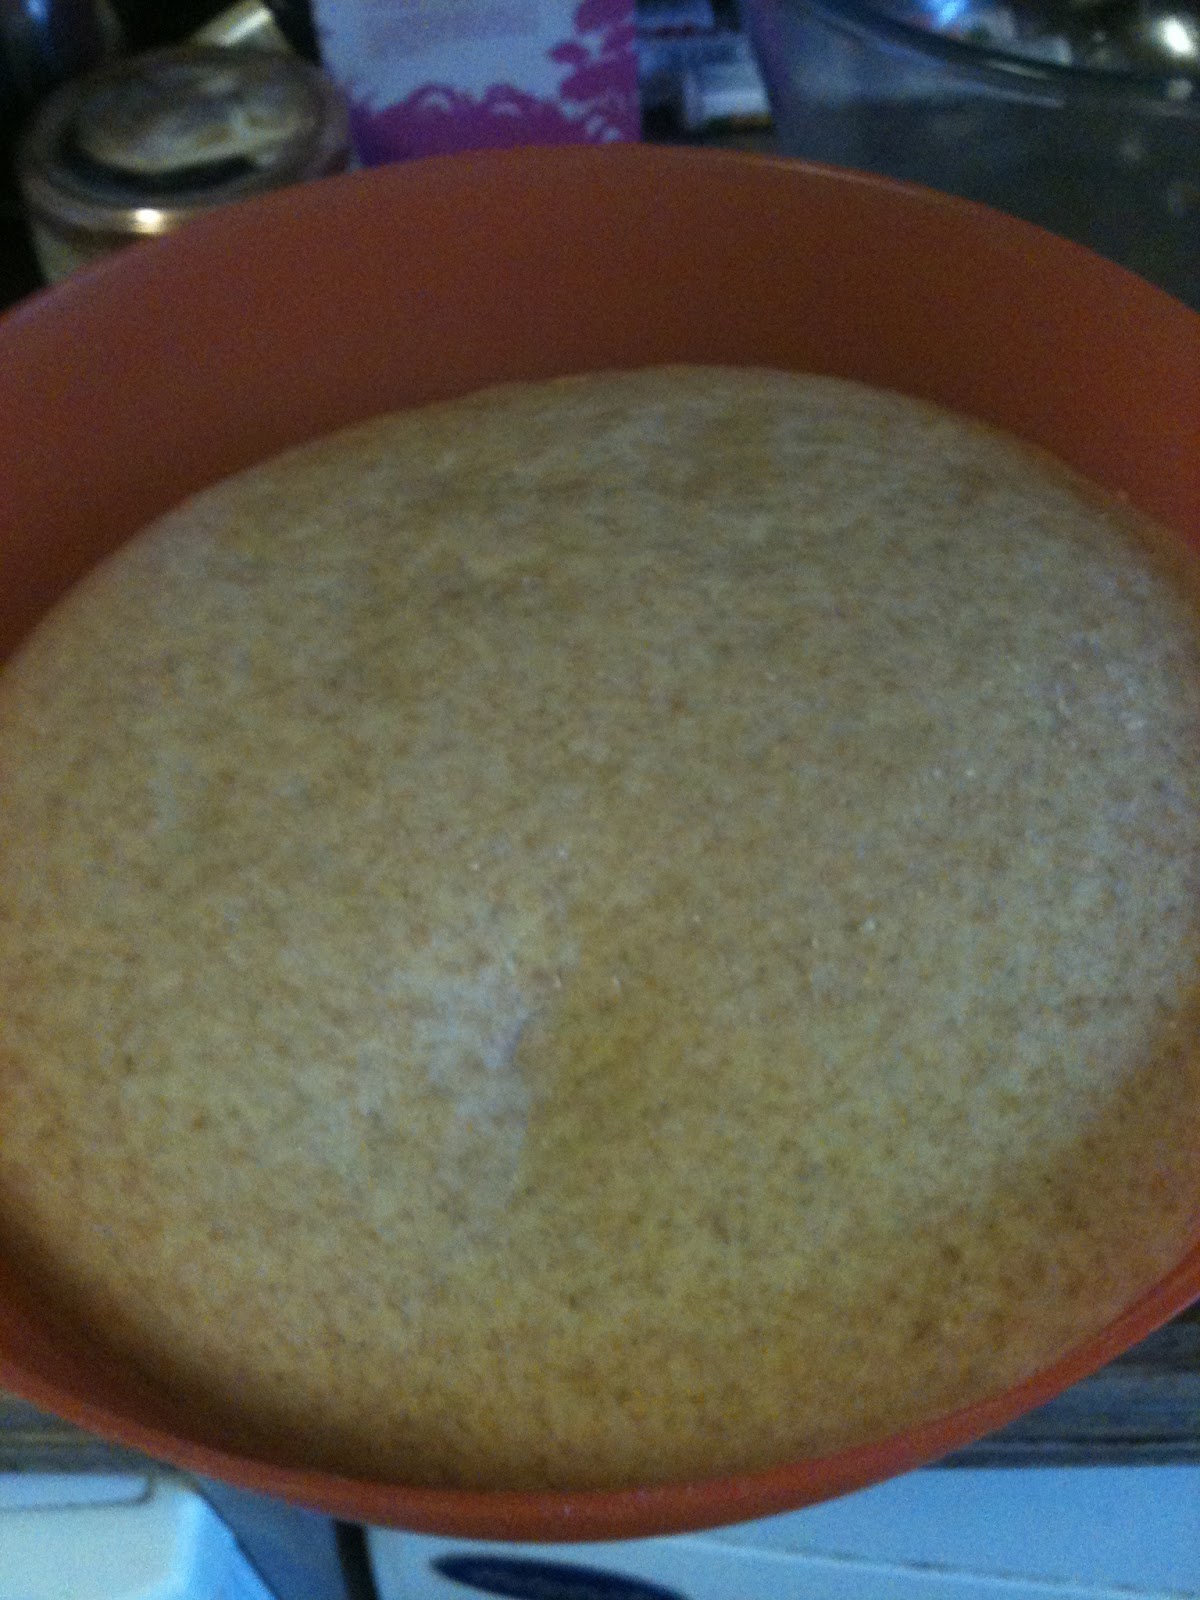
It starts with the usual of mixing with your hands in my lovely new bowl which I'm in love with! And then the usual kneading process, I had a bit of a hard time, I think maybe the eggs made the mixture a little more stiff to knead, my arms started to hurt!! Those muscles are still improving. Then leave to rise for a few hours.


So, time to plait the dough. I called my Mum out to help as unlike me, she can plait hair so she may have a better idea what to than me! So it says to plait the bread and then transfer to the baking tray but that seemed too much for me, I thought it might be easier just to plait it on the tray. But first you have to roll the dough out, which for some reason I had a hard time doing! It just didn't want to shape out for me and looking at the pictures now, they look a lot thicker than they should have been. I think if I made the pieces of dough thinner, it would have been a longer loaf.


Now, the book has the instructions inside tell you nice and clearly how it should be done but to tell the truth, it doesn't make it any easier! The first time isn't so bad, your like yes!! I've done it!! But it all goes downhill from there as it says repeat the process, I was so confused as the right strait which start with was now in the left side, etc! So does this mean the new strait in the right I begin with? Or do I use the original piece that was in the right side? Totally confused and I think I stared at it for a good 10 minutes and then another 10 minutes of me and my Mum debating for where we think it should go. We tried a few different ways with no luck but suddenly it just clicked! And all the straits went into the right place, phew!


Once you've finally done the plait, you brush with some egg over the top and leave to prove for a few hours, which I was a little nervous the plaits would come undone somehow, I know this is impossible but still! It looks so pretty when it's all plaited that I didn't want to put it in the oven but alas, I did!


Reviews? Mixed, I thought it tasted like cake, my Dad thought it was too doughy and my Mum couldn't eat all her slice, I had trouble slicing it so it was a huge lump! Haha. Alice liked it too! I would do this again, it looks impressive and once you've got the hang of the plait, it is easy! I can now officially say I can plait dough but I still can't plait my hair!


I was also meant to make Crumpets this weekend but I didn't realise I needed Crumpet rings to make these so now these have to wait till next week and then onto the favoured breads! Slight delay!


Recipe 19: Rye Bread


Has anyone ever tried Rye Bread before? 

I hadn't, so on Thursday there was a food market in Hammersmith, there were a few bread stalls and one of them happen to sell this type of bread! My friend, Gina kindly bought the loaf as I stupidly went into a market with no money on me! I also need to note, how heavy it was, it weighed a ton! So we both tried a slice of the bread and we're not fans. I didn't like the taste at all, I'm not even sure how to describe it.
Rye Bread is meant to be the healthiest kinds of bread around, it helps with bloated stomachs and also makes your stomach flatter in the long term! It also packed nutrition's, probably why it doesn't taste that nice!


As you can probably tell, I wasn't looking forward to this from the start as soon as I opened that packet of flour, it looked and smelt like the dreaded malt flour! When you started to mix all the ingredients together my fear was answered – it was exactly like it!!


The mixture was very dry and hard to knead instantly, almost nearly as crumbly as the malt flour but this one managed to stay together – just!
In the book it says the preparation for this bread is 8 hours! So it needed to rise for 4 hours, which to me it didn't look no different. Then after this process, knock the air out (which there hardly any) and then you have to put in a proving basket for another 3 hours at most and this again, didn't make much difference!


So it went in the oven and didn't really expand or rise, just stayed in it's original lump! I'm not sure where I'm going wrong with the Rye / Malt Flour, I mean it's the same process as the other breads, nothing really different about the other ingredients, just the flour but for some reason it's just not working for me! Maybe next time I should try adding more water see if that makes a difference? Last time with the Malt Bread I thought I may have bought the wrong flour but with this one it was definitely the correct flour so must be something I'm doing wrong with it and plus the fact it's not the best kind of flour to use!


Reviews? After trying it the other day, I didn't fancy having another slice! My Dad tried a little and said it tasted Okay. The rest of my family didn't want to try it as they said it smelt, which it does!


Wednesday 20 February 2013

Recipe 18: Fougasse


In French cuisine, Fougasse is a type of bread typically associated with Provence but found in other regions. Some versions are sculpted or slashed into a pattern resembling an ear of wheat.
This bread, when you look at the picture looks so scary to make! It looks so intimidating! The picture below is from the book.


But it actually isn't too bad, there isn't a lot of ingredients about half of what would be in a normal loaf of bread but this recipe had no butter.
It was another dough that needed a mixer but it wasn't as bad as the others because their was half the usual mix so it didn't keep getting stuck too much like all the other doughs that require the mixer! When left to prove, it didn't rise much but I don't think it had too as long as it had the right texture.


Then time to shape it! This was the fun part! You pretty much had to stretch the dough apart with your hands into a kinda of oval shape, I tried my best to make the dough evenly spread out but it was thicker towards the bottom. Then using a pizza cutter you cut the dough into a 'leaf' shape pattern. I thought I cut mine correctly but when you see the baked version, it could of been better!
After this you left the dough to rest for 1o minutes, not long to wait at all!


Before putting it in the oven you dribble some olive oil and some dried oregano and leave to bake for around 15 minutes and done! :)


Reviews? It was a good bake! Very light and yummy! I was so pleased with it! My mum loved it and she wants me to make it again the Summer as she thinks it will go nice with a salad! :P I'd also like to make this again to make it look prettier! 


Only 3 more recipes to go in this chapter and then it's onto favoured bread!

Monday 18 February 2013

Recipe 17: Focaccia


Focaccia, I couldn't wait to make this as it looked so yummy!

So, Foccaccia (description from good old Wiki) Focaccia is a flat oven-baked Italian bread, which may be topped with herbs or other ingredients. Focaccia is popular in Italy and is usually seasoned with olive oil and salt, and sometimes herbs, and may be topped with onion, cheese and meat, or flavoured with a number of vegetables.
So there is a lot you can do with it but with this recipe on the top of it was sea salt and dried oregano drizzled with olive oil.


With this recipe it was back to my preferred method of of using my hands and scrunching the ingredients! Again, there is a lot more water in this recipe than any of the others so far though it didn't feel as wet as the Ciabatta dough but that's probably because you knead this one unlike the other wet doughs where I used the mixer.


But this goes into the square container again and left to rise, I didn't get any pictures of this one (Yes, I forgot!) but from what I can remember, it raised well, not large of the Ciabatta but still well!
Like with the previous two recipes you had to be careful when taking the dough out of the container as you have to keep as much air in as possible! It then needs dividing in half, nice and easy – then to stretch on a baking tray and left to prove for an hour but I've started to leave it longer now (not too long though) and it is working out better!
Once the dough springs back when you touch it, you get to make thumb prints in the dough which is kinda fun, it feels like popping bubble wrap, popping the air in the dough! Then in the prints you make you dizzle olive oil and then dried oregano and sea salt all over the bread with a short bake of 15 minuets!


Reviews? I got a little over excited with the sea salt and out too much over them which is a shame because the bread was really nice! I would try these again!


Recipe 16: Ciabatta


What to say about Ciabatta...It was really fun! Of course, we all know Ciabatta, Italian bread, perfect for dipping in olive oil if you fancy or a nice sandwich!


Again, to my dislike though, I had to use my electric hand mixer but it was a lot easier with this one as so much water goes into Ciabatta so the mixer could handle it better! There was no butter in this loaf either, but this one did have olive oil in the recipe too.


When the dough is mixed it says to put it in a square container and putting it in one of these really helps out later on! The dough really rises well, the container I placed it in was pretty large too but it filled right up, I think if I left it longer it would have reached the top, I loved it!


When the dough is ready you have to take it out carefully as the recipe says not to let too much air out which you can understand as Ciabatta is very airy!
As you tip it out, it comes out in the nice square shape like the container so you can easily divide the dough into the correct Ciabatta shape and stretch! Then you place it on the baking tray and leave the dough to rest but instead of leaving it for hours, it says to only leave it for 20 minutes so it was nice to not have to wait for hours for it to be ready!!


Reviews? I should of baked it for longer, I knew it when I tapped the bottom but I was worried about it getting to dark on top as Ciabatta is usually pale. I think I would want to try and do this again and it was a fun one to bake, no kneading either! 

Sunday 17 February 2013

Recipe 15: Baguettes


So I was excited to make these so I could use the Baguette tray at last! I love it!
So the main difference in ingredients is that there is no butter involved but a load more water than usual! With this recipe you don't use your hands either, you need a mixer which I haven't got! So I use my electric hand mixer which I think works as a good substitute, it does the job! Probably not as perfect as it should be but what else can I do! The mixture is too sticky and wet to handle by hand!


It is a bit of a nightmare using a hand mixer though, when the dough gets more together it starts to get stuck so I have to keep stopping and starting! And you need to do with for around 5 minutes! Then it suggests to place the dough into a square container as it helps to shape it!


It advises that you don't knock the air out of the dough like you would usually but instead to handle it gently as there should be as much air left in it as possible. It says to divide into 4 or 5 pieces but I only managed three! You shape it into the long Baguette style and place on the super cool Baguette tray and leave to prove!


They prove so lovely! They really look so nice on the tray too, I liked the way they looked before baking them better than baked, so odd I know! But when they were baked, I slashed the Baguettes with three lines on each but they didn't look as good as they did in the picture in the book which is a shame! I probably didn't cut them deeply enough but I will probably make these again, so I can use my tray again which I'm so in love with!


Reviews? So they didn't look as good as I hoped they would but they sure tasted good! Probably the most light bread I've done up to date. All my family liked them too and AJ has got some to try too!


Recipe 14: Ale Bread Rolls


What to say about Ale Bread Rolls? My hands smell of ale?! Seriously, I've washed them loads and it's still kinda there!
So, the big difference about this recipe is instead of water, you use ale instead! Measuring the ale was fun, it was so fizzy so trying to get the right amount of fizz took a little while!
It's the same process as the other breads, mixing it with your fingers and then the kneading process. When you start kneading, it's then you can really start to smell the ale! It's so odd, I've never eaten a bread with alcohol in it before let alone making it! With the flour, it was mainly strong white flour with a little wholemeal added in.


After the kneading process, it was time to leave it to rise. Once risen, time to divide into 60kg pieces. The recipe says that your meant to get 14 rolls out of it but I didn't think it was going too – but it did! So I had two trays of them.


Before & After


Next step is to roll them into a ball shape and place one of the balls in the middle and the other six around this, but very closely together! And then leave to prove. The tray I placed in the oven, came out fine, they looked nice but then I went out for dinner and left the other tray to prove for longer and then I would bake once I got home. After dinner when I came home, I think I might have left it too long, I didn't think it would be a problem? I'm trying to google and see if it is actually a problem! In the book, it says the longer the better but mine seemed to go flat again? No idea!!

Reviews? I couldn't really taste the ale, the ones in the book look a lot lighter than mine and I used the same brand of ale and everything! Everyone else liked them too!


Sunday 10 February 2013

Recipe 13: Milk Loaf


I like Milk Loaf :D


Whilst measuring all of the ingredients together, I put the milk on the hob and left it there just before it was about to boil as the recipe says it needs warm milk. Once I had all the ingredients, the milk was just at the right temperature to mix and it picks up all the flour lovely! And this time, nice simple Strong White Flour, nothing complicated!

When kneading, the mixture feels very sticky, much like the Soda Bread, I suppose because they are both milk based, this is what makes it like that! But it really smooths out lovely and easily too!


I found this bread to rise really well, and of course, I was more patient with it! It was so odd when you smelt the bread baking, you could really smell the milk! So yummy! It turnt out quite well! It seems like one of those things though, if you eat too much of it at once, it will probably be way too much and make you feel a bit sickly, however nice it is!


Reviews? All my family liked it, I thought it was yummy! My Grandad wasn't so keen but he ate it all!


111 Recipes to Go! :)


Recipe 12: Spelt Bread


Another Bread with a different flour! Honestly, before this book I didn't know there were so many different kinds of flour! The flours I've used so far have been:
  • Strong White Flour (the most commonly used)
  • Wholemeal Flour
  •  Plain Flour (Not normal for bread but still used)
  • Malted Flour
  • Spelt Flour
  • Rye Flour (Coming up!)
Then of course, there is probably a lot more different flours in the world but these are the ones used in the book so therefore must be the most used!
When you list them, it doesn't look like a lot but in every recipe you add less or more or do something a little different with them.


So Spelt Flour! Taken from Wiki: Spelt, also known as dinkel wheat,or hulled wheat, is a hexaploid species of wheat. Spelt was an important staple in parts of Europe from the Bronze Age to medieval times; it now survives as a relict crop in Central Europe and northern Spain and has found a new market as a health food.


I did this recipe the same day as the Malted Loaf, so I was expecting another disaster as it seemed like one of those days! But it wasn't so bad! Like all of the recipes before hand, mix all of the ingredients together. Knead the bread which seems to be getting better, this recipe advises to knead longer (ahh!) which I did so!


Then leave to rise, I forgot to take a before picture but it did rise a lot! When you read about this flour though it does say that one of the best things about it is that it does take quicker than usual flour too!


Once the air is knocked out of the dough, it's time to leave to prove in the tin that's already seasoned. In the book it says to never clean the tin out afterwards and just to leave it. The first time you use the tin though, you should put butter round it and I have to say, I've used the tin 3 times now and it the bread comes out perfectly!


I left the bread a lot longer than I usually do, I was more patient and plus I was making Cup Cakes in between! But next time I make bread, I'm going to make myself be more patient as it really is worth the bit more of waiting!


Once baked, I think it was out of all the recipes I've done, the one that looks most like the picture in the book, yay! Still not perfect but getting there!


Reviews? Everyone liked it, agreed that it tasted like brown bread!


There are only a few more recipes out of this chapter left and then it gets a bit more interesting, or complicated with favoured breads!

112 Recipes to Go!!